Showing posts with label DIY. Show all posts

Monday, 18 December 2017

[Product Review] Tico Bricks!


If there's something that can keep me away from spending too much time on the computer and mobile phone, it has to be this.

And I am sure you guys will love this new product as much as I do ; especially after reading this post.

Presenting to you...

*drum rolls*


TICO BRICKS!!!!

If you are wondering what Tico Bricks are, they are actually small bricks (measuring at only 3.9mm x 3.9mm x 4.9mm) that you can build many cute things out of them. They have many series that feature different themes, one of which the latest one is the Amusement Park series!

I was really thrilled when the lovely folks from Play Distribution had kindly sent me a set of Tico Brick from the Amusement Park series over for the review. It took me a long time before finally selecting the Ferris Wheel design because EVERY single one looks so adorable!

Initially, I was not sure if my patience would lead me to complete it as it does seem complicated to build - but hey, I DID and was even so engrossed in it that I did not realise that the time was passing so fast.

I have documented my process to share with you guys, and I do think it's pretty amazing to see the bricks taking form with each step! (Please pardon me if the photos are not very well-taken as I was literally making and taking the photos all by myself at the same time)

What's inside the box: - 
Two packets of small bricks, two bigger square bricks that are meant to be the "grass patch", and one instruction manual (step-by-step)
As the bricks are pretty small, I had to be careful and ensured that I had everything in place inside the box. 


 Let's begin by connecting the two "grass patch"together!


Every brick here was joined together after referring to the instruction manual (Don't worry, the manual is very clear-cut. All you have to do is follow step by step)

And here was the first step done! Still looking nothing like a Ferris wheel yet...


Slowly... Omg, see the colourful-looking small blocks there? Those were actually meant to be human figures that would soon be admiring a Ferris wheel before them. SO CUTE, RIGHT?!?!


And 4 trees were planted...


Here's a picture of how it looks like from the side view:-


It's slowly taking place.. AT THIS STAGE, MY EXCITEMENT GREW


You know the feeling of building something using your own bare hands? I was enjoying every single minute of this.


It's starting to take shape now!! *squeals in delight*


And here came the crucial part of the bricks. I had to build the "rod"first before attaching it to the main parts.


Build 4 of the same "rods" and we have this:


  I would say the MOST difficult part would be putting this set of bricks together to form a circle for the wheel. I spent quite a lot of time on this part as the position of the bricks kept shifting when I accidentally touched it while I was trying to secure them during the process. 

There were 3 layers of bricks here to secure them- and it was pretty good at this stage as the bricks were nicely fitted.


Here's a close-up of how the 3 layers of bricks look like :


After completing the wheel, I placed it aside to build the "carriages".  Each "carriage"is a different shade of colour and there are 14 of them in total. This part would require a bit of time too as the bricks would not be really secure until they have been fitted to the wheel.


 Arrange the "carriages" nicely together and combine it with the wheel that was built earlier..
Ta-da! Here we have it.


Now I've gotta join this part to the first one that I did. Gosh. Gosh. I got so anxious that my hand was trembling in excitement. I JUST COULD NOT WAIT to see the Ferris wheel taking full shape.


Pardon that the wheel was not really looking that round in this picture - I had adjusted it afterwards.


AND TA-DA... PRESENTING TO YOU THE FINAL PRODUCT..  I HAD FINALLY, FINALLY COMPLETED IT. 
I am not trying to exaggerate, but I could feel tears of joy when I saw the full form of the Ferris wheel. Did I... Did I... just build it myself?!
The sense of achievement is too overwhelming.


AND DID I MENTION THAT THE WHEEL IS ACTUALLY MOVABLE??! I know I may have said this a thousand times, but THIS IS TOO CUTE.

(I have posted this in my instastory as a teaser and my friends have been commenting about its cuteness)


This is how the Ferris wheel looks like on the whole. And in order to show you guys in live form, I have done a short video that captured the moments. Enjoy!!


Video here:


 Let me show off a few more photos of the ferris wheel. I am so proud to call it mine!


Enjoy the ride, my little humans!


If you guys are fans of bricks building too, I am 100 PERCENT positive that you will love what Tico Brick have to offer. I admit I got hooked to my first set that I am considering to purchase more.

Here's a happy me with my Ferris wheel.


If you were to ask me what do I love most about it, I would definitely comment on its quality. The bricks are really defined - not those cheap and fragile kind. (I read that the bricks are actually originated and manufactured in Taiwan which are made of toxic-free Acrylonitrile Butadiene Styrene 
(ABS) plastic. Whoa, chim... but if you feel the material physically, I am sure you will be pleasantly surprised by its quality, too)

Most importantly, the final product will be something that you can be proud of. 
Different series have different level of difficulty - but the completion will certainly give you a sense of achievement. This may sound hilarious, but I admired my Ferris wheel so much that I spent almost  five minutes staring at it in awe.

Here are some of their other awesome designs from the same series - I am sure you can tell
why I had such a difficult time trying to choose one. Every single design is LOVE.


In case you are unaware, the recent Starbucks and Toast Box mini bricks are actually made by TICO, too. These little exclusive cuties can be found in-stores at Starbucks and Toast Box!

Look at their designs - How could anyone NOT love them?!?!


For more information and details on how you can purchase and make your Tico Bricks like I did, do stay tuned.
I can assure you that they will be able to provide you with hours of fun! :)


Friday, 1 February 2013

[Review] Cocoa B

Are you a chocolate lover or have you ever thought of CREATING your own chocolates for yourself or friends? 
No, I am not going to introduce an ordinary chocolate bar that you can get from random supermarkets here.
What's the point, right?

Here's something totally cool:

Seriously, if you consider yourself a chocolate fan - You should totally see this.

I was really fascinated by their concept:

Because you can actually CREATE your own chocolates ONLINE (just using a few clicks of your mouse) and have them delivered to your doorstep!
It's easy, all thanks to technology! (HAHA)

Its really amazing how the end results may just surprise you.
Let me show you how it works 
(I love their web store interface. It makes everything look simple... and it really is!):

1) Log on to www.cocoa-b.com

Spot the words "Create Your Chocolate" at the top bar?
That's your first step!
.
.
.
.


2) And you'll be led to the 2nd page. Now, this is exciting... Because this is where you choose your main chocolate!
Everyone has different preference, be it white, milk or dark chocolate. 
(For my case, I chose milk chocolate for this review!)


.
.
.
.
.

3) Choose your ingredients.

Seriously, this is EPIC fun! There are simply so MANY interesting and unexpected ingredients that you will NEVER think of to be compatible with chocolates.
And they are all of your choice - You choose what you want to go with the chocolate. Come up with an interesting combination, or simply anything!
Ingredients such as Ikan Bilis, sea salt, apricots, etc - You may think they will taste weird or disgusting with chocolates.

Ah , wait till YOU see my review!


.
.
.
.

I managed to select 3 different ingredients for my milk chocolate
 (The maximum amount of toppings that one can go is up till 5. But I didn't want the taste to get too "diluted". So I stopped at 3!) :

- Ikan Bilis
-Sea Salt
-Dried longans
I was actually chuckling to myself because these ingredients may seem like a ridiculous combination - BUT trust me, you will never know until you try!

The customer service at Cocoa B is really good - They ensure that your chocolate will arrive as "fresh" as it will ever be. 

Ding Dong!
My chocolate creation arrived!
*rubs hands in glee*


*trying to act like an ambassador* LOL
You see, I was even wearing the color of chocolate as my Tee-shirt. 
HAHAHA.


:Let's see my creation!
Seeing it is just like seeing your own baby - Its MY chocolate, and there is ONLY one in the whole wide world. 
(HAHAHA)
And I really love their packaging. It looks so classic - like a luxurious chocolate brand!


                                                                        Front view:


Back view - Look! My chosen 3 ingredients are in here!
They look like fossils, don't they? Haha!


Yes, you will never imagine ikan bilis with it - But according to several reviews I read, IKAN BILIS DOES GO WELL with chocolates!
(Those little white dots are actually sea salt)


 Posing with the chocolate - Blogger's style- before finally tasting it:


Bid goodbye to the chocolate now - It is now heading towards the direction of my mouth. LOL.


Right.. So here is my verdict of MY chocolate:

Taste: 9/10

I was actually quite surprised by the taste when I first set my mouth on it. In fact, it was a pleasant surprise.
I tasted saltiness (from the sea salt ingredient I added), the sweetness of dried longans, and the crunchiness of the ikan bilis.
Yes, I have never tasted anything like that before in my life... BUT I really love it x 10000! No lie.
I got so excited that I ran across the house and literally shoved the chocolate into my dad's hands,
 "Hey, pa. TRY IT!"
I told him about the ingredients that were added and he was actually quite skeptical... 
UNTIL he finally tasted a portion of it and went , 
"Wow. It DOES taste not bad. I can't believe ikan bilis can go so well with chocolates. Its strange!"

And my mum loves it as much, too. She actually cracked up when I told her about the ikan bilis part as well.
"I tasted saltiness!" she exclaimed.
"That's sea salt," I replied.
And she laughed at the cute combination. 

I would totally do it again and consider creating more for my friends in future.
(They make great and thoughtful gifts!)
But if you stuck in choosing the ingredients, you can always look at their in-store creations for inspirations. Or better still, you can actually purchase the creations created by Cocoa- B themselves! The creations are based on popular tastes, so I am sure they won't go wrong! *winks*
The prices are pretty reasonable, too.

Seeing is believing. Therefore I urge you to see it!
www.cocoa-b.com

Sunday, 16 December 2012

[Review] CandyPlay 2011 -Popin' Cooking!

This has got to be one of the most interesting (and longest!) reviews I've ever done -with thanks to CandyPlay 2011 for sponsoring 3 DIY kits of my choice!
If you have been to any ToyPost outlet in Singapore, I am sure you would have seen them before - Yes, making your own food with just a few simple steps.

(It's like a child's play dough but they are edible! How cool is that, huh??!!)

I know some of you are pretty excited after I posted some preview photos of the DIY process on Facebook, so here it is...

 Enjoy the review!

The 3 choices for this review:
-Gummyland 
-Sushi set
-Curry set


Let's start with the first set - Gummyland (Yes, we are going to make our own gummy candies!):

Preparation you will need:
- A small cup of water
-Plate (To place your gummies after making them!)

What's in the set?


The tools and ingredients used to make the gummies:


Overall:

-1 shape carver set
-4 ingredient sachets
-1 water dropper
-1 palette


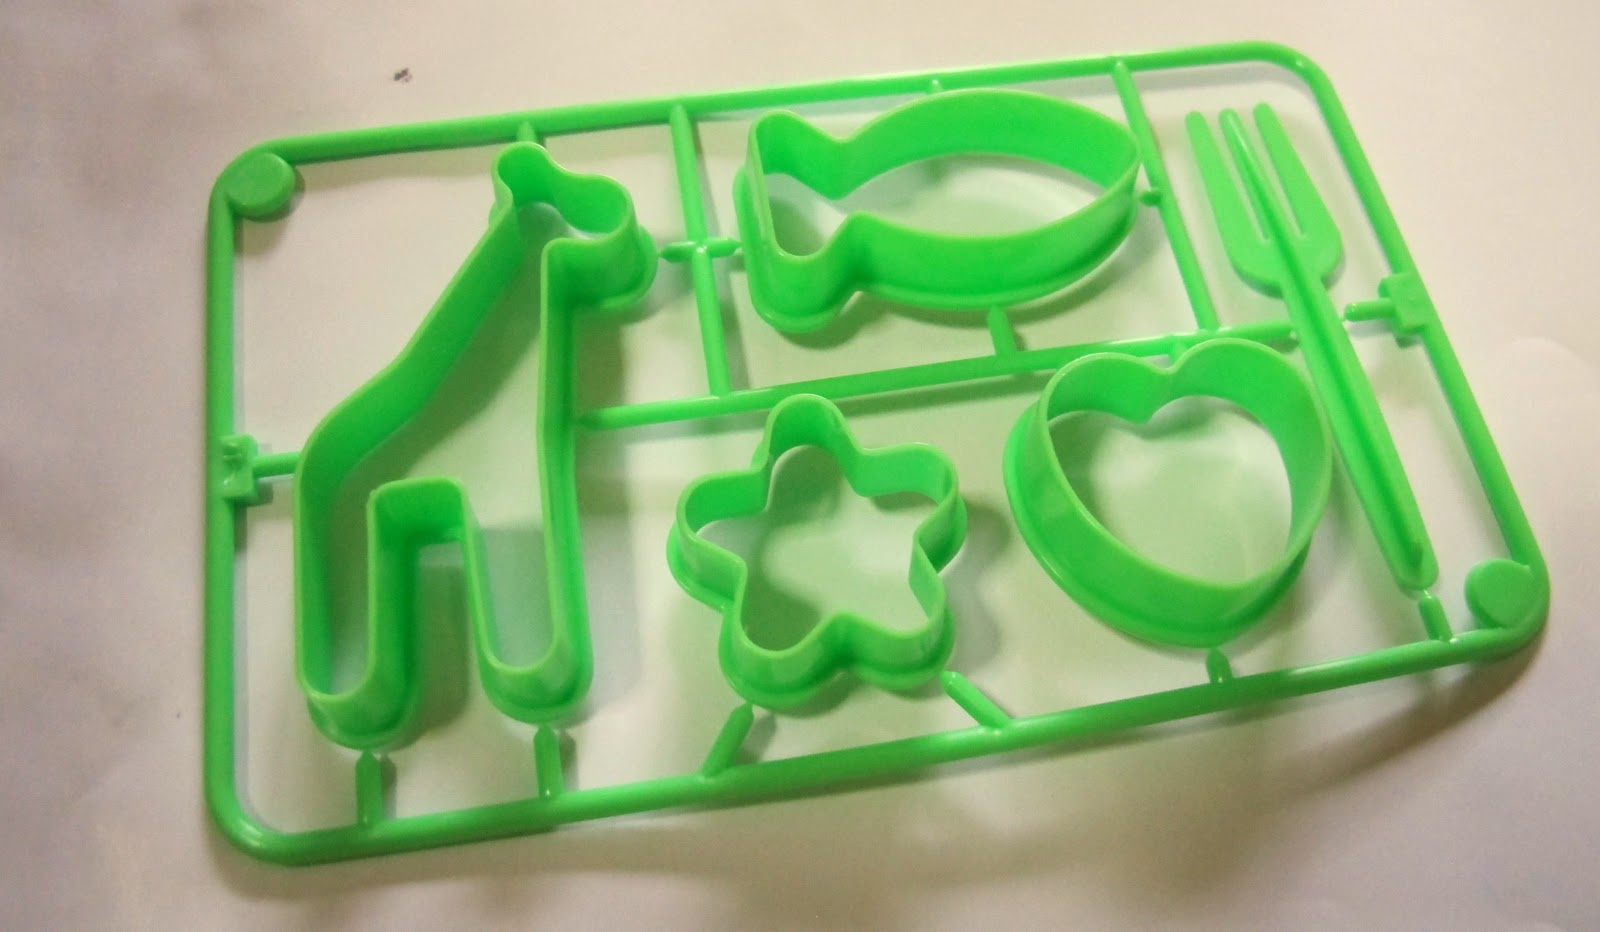
This is what I call the "shape carver". You'll have to use a scissors or penknife to chip them off into separate pieces!


Let's begin!
(I used a scissor to chip them off.)


The separated pieces: 
(The little fork is so cute, isn't it??!)


The plastic palette  - our main tool to hold our "ingredients" used to make the gummies:
(I've washed it for hygiene purposes)


I know some of you will be confused with the sachets as the instructions are mainly in Japanese. Fret not as there is an online video to guide you - which I'll post at the end of this review.
But if you prefer to refer to my review, you may, too. :)
 I shall try to be as precise as possible, I promise!

1) Green sachet 
(It's easier to go by the colors of the sachet packaging)

Pour the entire content onto the largest section of the palette.


*pours*
Yes, it does look like salt/sugar.

 It looks like a small "mountain" after pouring the entire content:


With the mini "fork", spread out and smoothen it.
It's just like playing with... ... sand. Lol.


Here's how it should look like:


Next, use the water dropper (I don't know exactly what it is called so pardon me!) and fill up the 4 small sections at the side with water. 
(You don't have to fill them up fully, just 40-50% will do!)


Next up is the Yellow sachet:

*pours happily*


Do not be freaked out by its color. It's normal!


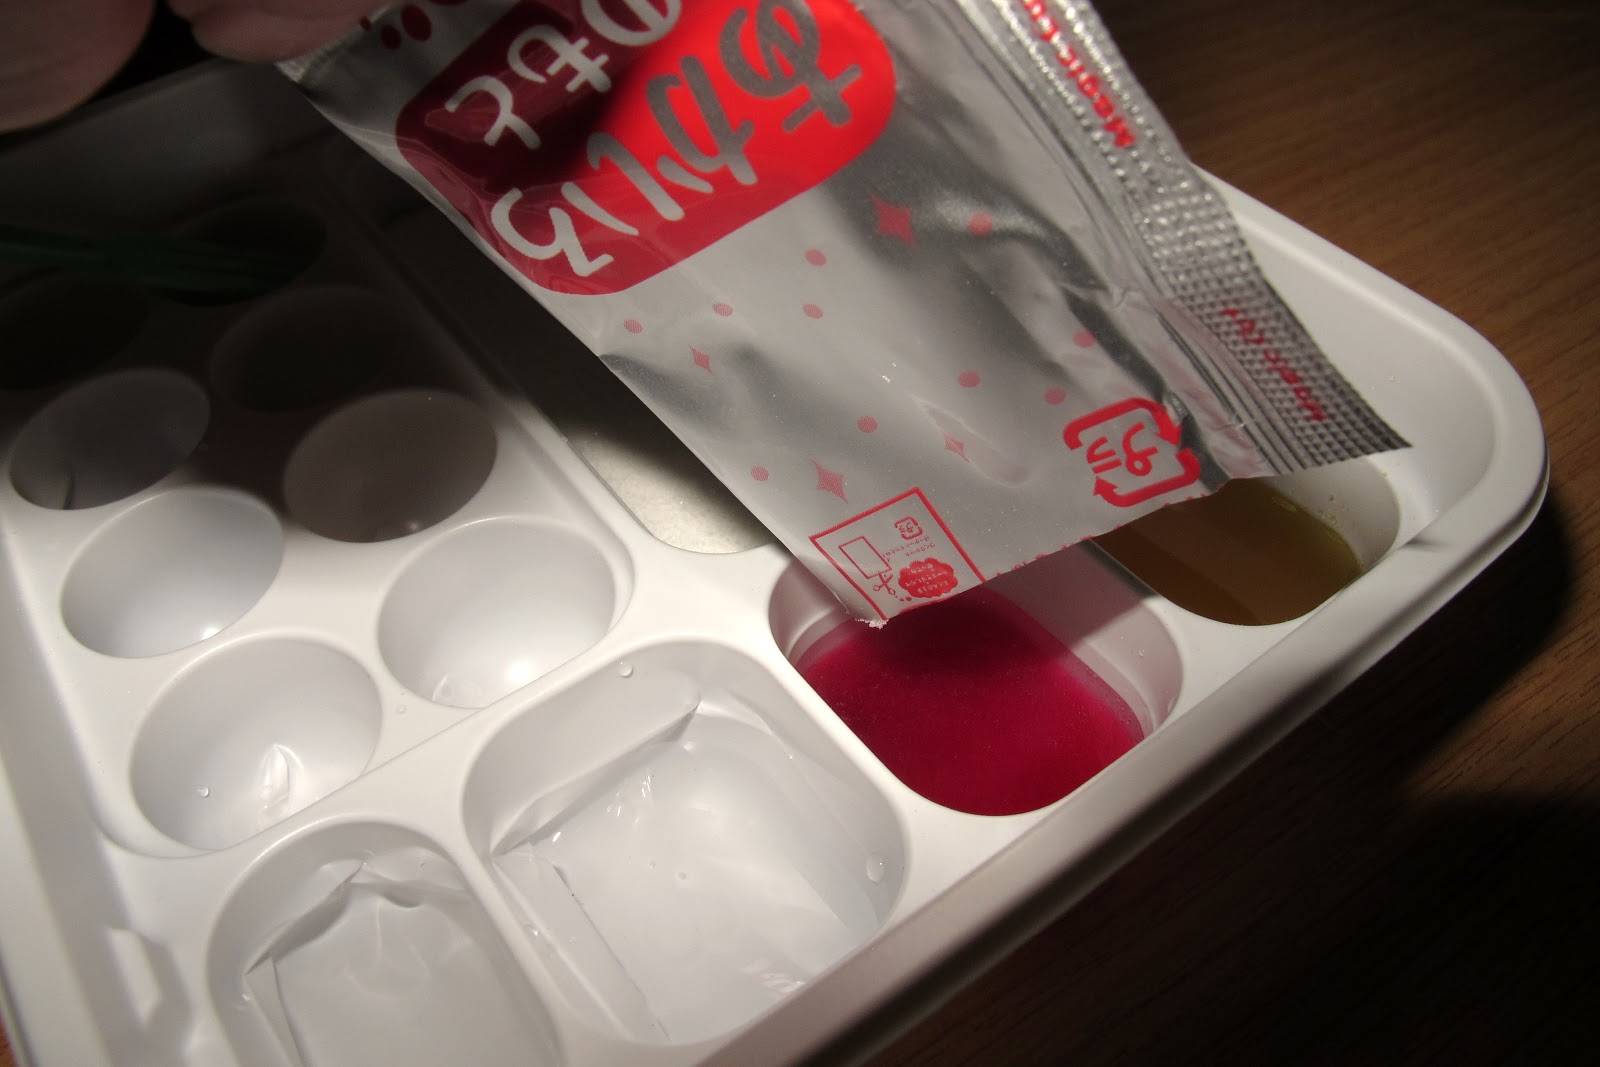
And the next sachet to open is the Red one!

Yes, pour the whole packet in!


There you go:


Now, the Blue one:


Water slowly turning blue:


Now... Let the COLOR fun begin!
Use the water dropper to suck any color that you want and start mixing around to get different shades of colors! :)


*The first color orange was mixed using yellow and red*


*anyhow mix*


ANY color is possible! Just have fun!


Okay, this somehow reminds me of those watercolor palettes that I had used before when I was a kid.
 =P.. Except that this is EDIBLE!


Now for the shape carving! Remember the different shapes that you had previously cut out?
Choose any one of them to be your first gummy shape! :P
Well... I chose the flower here. Let's see how it is gonna turn out~ Hmmm...


It's time for some coloring!
Just "suck" any color of your choice from the color mixture and start all the color droppings. How your gummy is gonna' turn out in the end depends on you now!


 I didn't bother to mix around with other colors for my first try so I just colored the whole shape with Red. (It actually looks more pinkish than read, IMO)


A close-up:


Okay, here is one AMAZING fact... There is almost NO waiting time for the gummy to be ready!
It "dries" up pretty fast, and you can use the mini fork to extract it within a short time span.


Ta-da!
(Somehow it looks like a jelly here, doesn't it? LOL!)


Next.. .. A heart shape! (Imagine making this for your boyfriend/girlfriend... How touching!)


Okay, the process is the same for all the others so I won't be posting them here.


Sorry for the reflective plate.. I guess it isn't the wisest choice to choose a metal plate here! Haha..
I totally love the giraffe shape!
It's so kawaii. :)


Attempted to "dig" the giraffe out from the carver. I had to be EXTRA careful as I was afraid that I would accidentally break the "legs" of the giraffe.


Ta-da!~ My giraffe!!! Cute, right??!!!
I am sure it will attract kids! :)


Giraffe and flower gummies. :)


 Well, I didn't waste any ingredients at all!
Had used them all up to make gummies of all shapes. LOL.
Here is the aftermath photo:


 My verdict of this product:

Difficulty: 4/10
Taste: 6.5/10 (Not an exactly unpleasant taste, but definitely an acceptable one!)

Well... There is no denial that everything about it is FUN! I understand that there are people out there who have questions such as "Can those gummies really be eaten?!", etc.
Well... Trust me, they can! I wouldn't be alive now if they aren't. LOL.
I am sure it is a product that will appeal to kids. (Not to mention that it is safe too!)
Now.. I have just given you a Christmas gift idea, haven't I? *winks*

Here's the video to guide you to ensure you are on the right track!


.
.
.
.
.
.

2) Sushi set


Preparation you will need:
- A small cup of water
-Plate (To place your your sushis after making them!)


Back view:


Well... Please do not misunderstand that you can make REAL sushis with it. (I know some of you might!) They are "Gummy sushis", meaning that they taste like gummies.
Nonetheless, it still fun to make. Just read on to find out! :)

Again, everything on the packaging is in Japanese. But fret not because there will always be online videos to help you. :)


Open it and you will find all the sachets of ingredients!


Again, a water dropper is included as part of the set so you can go ahead to fill up the main plastic tray with water. There is no need to fill up to 100% (That will be too much water!). Just a moderate amount will do. :)


The first sachet to open is the BLUE one:


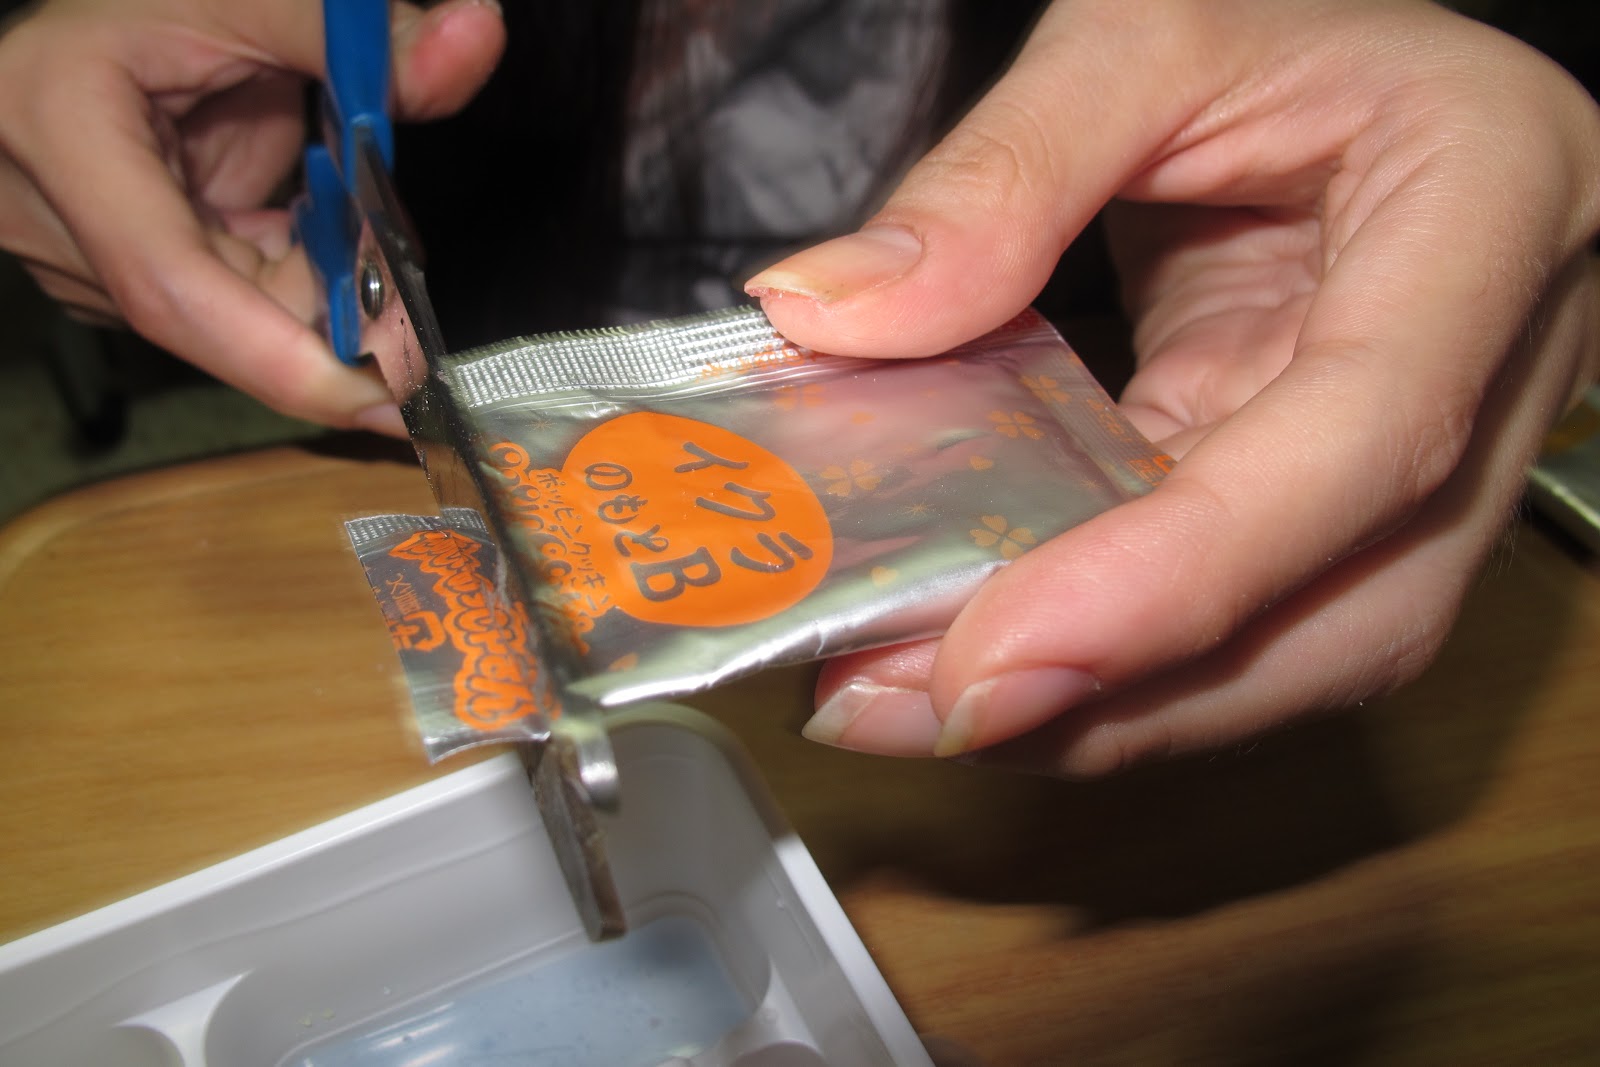
*cuts*


 Don't worry and just pour everything onto the tray. It may seem like a large amount because it is actually used to make the "rice" for the sushi! :)


A small "mountain" is formed. LOL:


 Mix it with the water and it will *magically* transform into a rice-like texture!
I was pleasantly surprised because it actually felt like real rice! Gosh.


Moving on: Opening the YELLOW sachet:


Let's get down to work and pour it!


Again, mix it with water. :)


Just stir to and fro and it will turn into a sticky substance:


Ta-da! This is how it will eventually look like:


Here's next: Purple sachet


Do not forget to fill the tray with water as well!


 It's the same process all over again:


Okay, it is actually a BAD example I am showing here as I somehow messed up and everything started looking untidy. (But you get the idea... Right...??) *gulps*


Next, we are going to open this small packet (It will later be shaped to look like the "seaweed" portion for the sushi!)


I actually messed up the seaweed part as well (It's not really that easy!!)


Flip to the back of the packaging and you'll find this rectangle part at the bottom.
You can actually use it as a reference for the length of seaweed!


For this review, I had cut out the portion so I can easily use it to measure against the length.


Gosh, it looks damn ugly. :(


Well, let's move on to open up the other sachets!
Here's the GREEN one!


It looks transparent-blue:


Here comes the most interesting part!
Open up the orange sachet and you'll know why soon enough!


*Note: Please pour more water for the orange section as it will turn really thick if there isn't adequate amount!*


Stir it until it is completely even ; then use the water dropper to suck it up.
(If you do not pour enough water for this part, you will have difficulty trying to suck it up!)


Just this amount will do!


Carefully, drip your first drop onto the transparent blue liquid. AND it will turn into a small orange ball!
It DOES look like the real deal. #OMG

Trust me, you will have tons of fun dripping and watching those balls form. It may even come to a point when it becomes addictive! LOL.


Lalala~


I apologize for the deformed balls. LOL. I was kinda' nervous when dripping it and those balls turned into weird shapes. =_=


After you have enough of the balls fun, (Gosh, this sounds SO WRONG!) , use the spoon and scoop them out.


Remember the "rice" that you had on the tray earlier?
Now's your chance to mould them into a better-looking sushi rice shape!
(Mine looks freaking unglam!)


Dig the yellow portion out and place it on top of the rice:

Ok, this isn't the MOST perfect example.. But I tried!


 The red one:


 And here is where the orange balls will go to!
 I wrapped the "seaweed" that was made earlier around the "rice" - in an attempt to make it look like a real sushi.
(But I guess I failed! Gaahh)


 My verdict of this product:


Difficulty: 7/10
Taste: 6.5/10

I chose the Sushi set as part of my main choices because it is one of the best sellers on Candy Play 2011 site, and thought I would take up the challenge.
It is quite difficult to make as it does require patience and abit of skills to mould them into a perfect sushi shape. Nonetheless, you'll feel a sense of achievement even though they may turn out to be a slight disaster. LOL.  If yours happen to be a huge success - then that's an even bigger achievement!
Haha.
Well... One thing for sure, they do have quite a sweet taste. (Of course, its made of gummy ingredients, duh!)

Here's the video:


.
.
.
.
.
.


3) Curry Set
(OMG! I'm so gonna rate this 10 stars!!)

I can't even begin to tell you how much I LOVE the curry set. Seriously, you have got to try it yourself to fully understand why I am going gaga over this product!


The full set contains:


Close-up:


You have got to prepare a pair of scissors to cut the tray into separate pieces, such as this:


Let's start with the blue sachet for this one!


Now, pour it into the compartment here (There is no need for water first):


Smoothen it evenly:


Retrieve the triangle-shaped compartment and pour water into it.


Transfer it here:


Yes, it will slowly "transform" into soft rice as you stir it with the spoon for quite some time!


Looking more like rice now:


Here's a close-up:
Can you freaking believe that this is not REAL rice at all, but some gummy ingredients?!


Remember to take the "rice" out (after you are satisfied with the look) and place it in the circle compartment.
It is meant to be a small bowl to hold the "rice"!


Now, cut open the orange sachet!


Similarly, pour water into it and we shall start stirring!


Okay, it may look somewhat disgusting at this point.. BUT please have patience and scroll down to witness the final product for yourself!


After a few rounds of stirring, try to keep it to this shape. You'll know the reason soon!


We shall move on to settle the other packet before continuing:


And you have got to smash it with your fingers until all the small balls are fully in powder form:


The power of my fingers~:


Now, let's continue where we left off earlier.
I've used a shape carver (not included in this set) from my earlier Gummy set to carve it into a heart shape.
Of course, there is no fixed shape or rule here. You can have it in ANY shape you want, or better still, mould it with your own hands! :)


I guess I was lazy and ended up using the shape carvers to create the shapes:


In order to give it a "fried" look, pour the packet of ingredients which was smashed earlier:


Roll it over the ingredients (it tasted like plain crackers!) and it will stick like glue.


Genius, right?
Here we have the "croquettes"! :)


 At this point, I had actually grown a strong urge to EAT it already. But that shall wait because it isn't over yet!

There is still a brown sachet yet to open:


Ya-da, ya da.. The same process again.


Looks like sand, but it isn't! It's gonna be some delicious stuff, I'm telling ya!


Watch in amazement as the color slowly changes to a shade of orange... and take a sniff..
No, you are definitely not dreaming of the curry smell.

IT REALLY DOES SMELL LIKE CURRY!!

I was astonished, really. (In a good way!)


*Please do note that the bits and pieces contain pork*


I am actually hungry just by looking at this photo!


Can you believe it?! It really does SMELL... and TASTE like REAL curry. No joke.


Now we are going to make a mini "full-set" meal. LOL.


Slowly and carefully, pour the curry onto the "rice":


Well, I suck at making it look good. But never mind that - you can place 100% trust in me that it does taste delicious.


  My verdict of this product:

Difficulty: 3.5/10 (Yes, it's not difficult to make!)
Taste: 9/10 (Goodness Gracious!)

It was definitely NOT something I would expect from a simple D-I-Y kit. It all turned out to be a pleasant surprise because it tasted nothing like gummies at all - BUT just like the real deal!
The "rice" was different from the ones we made from the Sushi set. This actually felt and tasted more realistic. It's abit salty - and NOT sweet at all. (You wouldn't have guessed!)

Well... Not to mention that the curry was AS AWESOME AS YOU CAN EVER IMAGINE. I was scratching my head so hard at the fact at how it can have such a great curry taste.
I was like "HOW CAN IT BE???!!"
LOL.
And yes, the "croquettes" tasted just like mashed potatoes, too!
Everything about this set is fantastic.
I strongly urge you to get one to try it for yourself.
I assure you that you'll be impressed. :)

Video:


If you have survived this long blog post, congrats!!! :D I hope you had fun reading through this review.  I had fun during the process!
There are still many more varieties featured in the store that you can try out with your friends or kids! :)
(Those that I featured in this blog post are priced at only $9.50 EACH! Definitely worth the fun, if you ask me!)
Quality is definitely assured and all the candies are imported from Japan.
If you are still cracking your brains for the perfect Christmas gift, look no more..

Head over to:
www.candyplay2011.com 
and HAVE fun!!